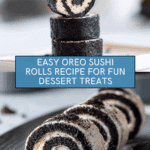
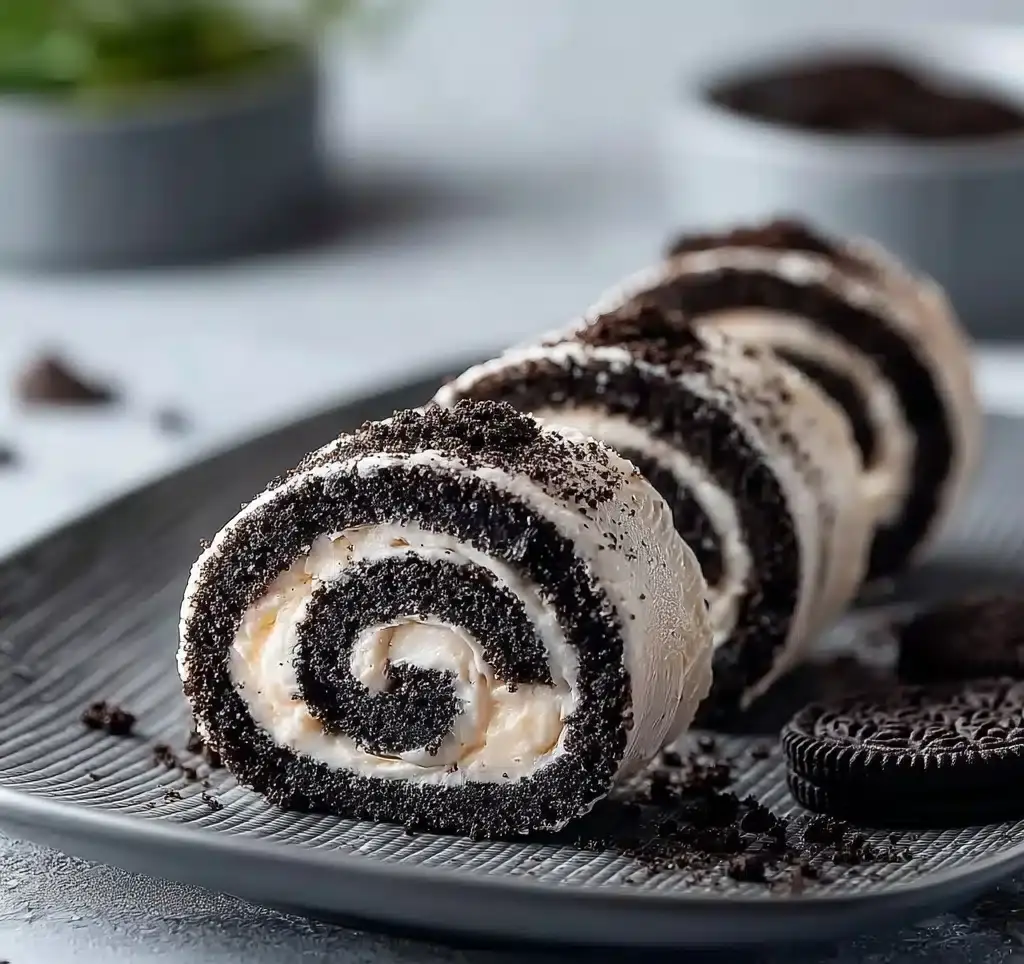
Oreo Sushi
If you’re looking for a fun and indulgent treat that’s as playful to make as it is delicious to eat, let me introduce you to Oreo Sushi. This creative dessert takes the beloved Oreo cookie and transforms it into a delightful sushi-style roll, blending crunchy cookie crumbs with creamy filling in every bite. Oreo Sushi is not only a feast for your taste buds but also a feast for the eyes, making it an irresistible showstopper for parties, family gatherings, or just an enjoyable afternoon snack.
Ingredients You’ll Need
These ingredients are refreshingly simple, but each one plays a crucial role in crafting the perfect Oreo Sushi. From creating the chewy cookie base to the luscious cream layer, you’ll see how every component adds a unique texture and flavor to this dessert.
- Oreos: The star ingredient providing that iconic chocolate crunch and creamy filling that makes Oreo Sushi irresistible.
- Milk (any variety): Just a splash to bind the crushed Oreos into a soft, dough-like base that’s easy to spread and roll.
How to Make Oreo Sushi
Step 1: Separate the Oreos
Start by twisting each Oreo carefully to separate the two chocolate cookie discs from the creamy center. Place all the cream filling into a separate bowl and save the cookie halves in a zip-top bag. This separation is important because the cream will become the delicious middle layer of your sushi roll.
Step 2: Prepare the Cookie Base
After removing excess air, seal the zip-top bag with the Oreo cookies and use a rolling pin to crush them into fine crumbs. Transfer these crumbs to a bowl and add milk gradually, mixing as you go. The goal is to create a thick, pliable dough-like paste that will hold together well but still be soft enough to spread onto your plastic wrap.
Step 3: Assemble the Roll
Lay out a large piece of plastic wrap on your flat work surface. Spread the cookie paste evenly over the plastic wrap to form a uniform layer. Then, take the reserved cream filling and spread it evenly over the cookie crust. This layering is what makes Oreo Sushi so unique and scrumptious—each bite has a perfect ratio of cookie to cream.
Step 4: Roll and Slice
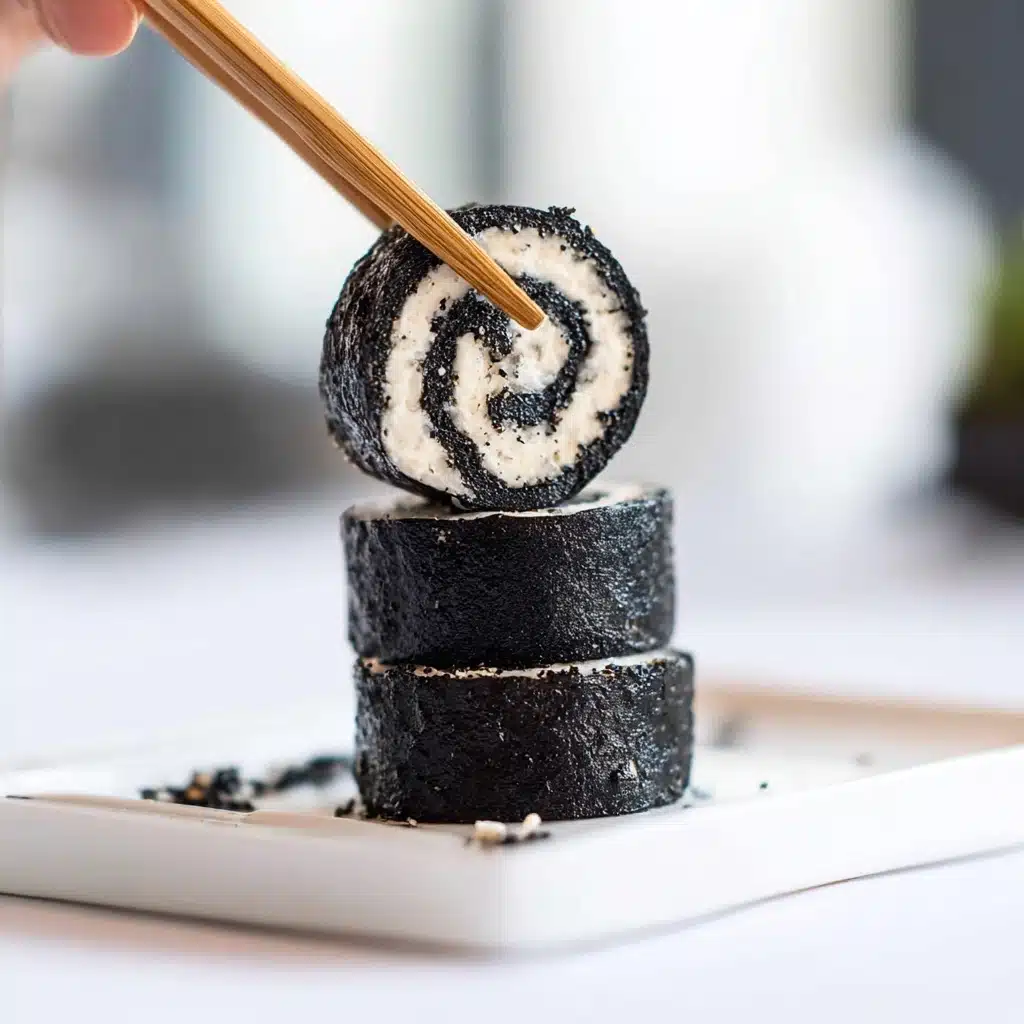
Using the edges of the plastic wrap, gently but firmly roll the layered mixture into a tight log shape, mimicking a classic sushi roll. Once rolled, slice the log into bite-sized pieces that look just like sushi. This is where the creativity shines, as you’ll have adorable mini Oreo Sushi ready to impress.
Step 5: Serve
Arrange your Oreo Sushi pieces artfully on a serving plate. To elevate the experience, consider offering dipping options such as chocolate sauce, whipped cream, or even a sweet frosting. These extras add an exciting flavor twist and make the dessert feel even more special.
How to Serve Oreo Sushi
Garnishes
To take your Oreo Sushi to the next level, consider sprinkling some crushed nuts, colorful sprinkles, or a dusting of cocoa powder on top. A drizzle of caramel sauce or a few fresh berries also adds a lovely contrast in flavor and color, turning each piece into a miniature work of art.
Side Dishes
Though Oreo Sushi stands perfectly on its own, pairing it with a cold glass of milk, a scoop of vanilla ice cream, or even some fresh fruit slices can balance out the sweetness. These accompaniments help to refresh the palate and create a more rounded dessert experience.
Creative Ways to Present
Serve Oreo Sushi on a bamboo sushi platter with chopsticks for a playful dinner party vibe. You could also wrap each piece in edible gold leaf for a luxe touch or place them in mini cupcake liners for easy grab-and-go treats. Experimenting with presentation is part of the joy and makes sharing this dessert even more fun.
Make Ahead and Storage
Storing Leftovers
Oreo Sushi keeps best when wrapped tightly in plastic wrap or stored in an airtight container in the refrigerator. This prevents the cookie base from drying out and keeps the creamy filling fresh. Consume within 2 to 3 days for optimal taste and texture.
Freezing
If you want to make Oreo Sushi ahead for a future event, you can freeze the roll before slicing. Wrap the whole log tightly in plastic wrap and place it in a freezer-safe container. When ready to serve, thaw it in the refrigerator for a few hours, then slice and enjoy.
Reheating
Since Oreo Sushi is best enjoyed chilled, there’s no need to heat it. Avoid microwaving, as this will soften the cookie base too much and melt the creamy filling. Simply serve it straight from the fridge or let it sit at room temperature for a short while before enjoying.
FAQs
Can I use other cookie flavors for Oreo Sushi?
Absolutely! While classic Oreos are perfect for this recipe, feel free to experiment with flavored Oreos like mint, golden, or peanut butter to create unique twists on your Oreo Sushi.
What type of milk works best for the dough?
You can use any milk variety you prefer—dairy or plant-based. The key is to add just enough to create a dough-like consistency, so avoid using milk alternatives that are too watery.
Is Oreo Sushi suitable for kids?
Definitely! Oreo Sushi is a fun and kid-friendly treat that’s easy to make together. Kids enjoy both the process of assembling the sushi rolls and eating the sweet results.
How long does Oreo Sushi stay fresh?
When stored properly in the refrigerator, Oreo Sushi stays fresh for up to 3 days. Beyond that, the texture might change, so it’s best enjoyed sooner rather than later.
Can I add fillings like fruits or nuts inside the Oreo Sushi?
Yes, adding finely chopped fruits like strawberries or nuts can add interesting texture and flavor layers. Just make sure they’re cut small enough to roll smoothly with the creamy filling and cookie paste.
Final Thoughts
Oreo Sushi is such a joyful and inventive treat that brings a smile to everyone’s face. Its simplicity makes it accessible, and its taste makes it unforgettable. Whether you’re treating yourself or impressing friends, Oreo Sushi is a delightful way to enjoy Oreos in a completely new and exciting form. Give it a try and watch this playful dessert become a beloved favorite!
PrintOreo Sushi

A fun and creative dessert recipe that transforms classic Oreos into bite-sized sushi rolls using crushed Oreo cookies, milk, and the cream filling for a sweet, sushi-inspired treat perfect for parties or a playful snack.
- Prep Time: 15 minutes
- Cook Time: 0 minutes
- Total Time: 15 minutes
- Yield: 12 pieces 1x
- Category: Dessert
- Method: No-Bake, Rolling
- Cuisine: American
- Diet: Vegetarian
Ingredients
Oreos and Cream Layer
- 12 Oreo cookies
- Cream filling from 12 Oreos
Cookie Paste
- Milk, 2-3 tablespoons (any variety)
Instructions
- Separate the Oreos: Twist each Oreo cookie carefully to separate the two chocolate cookies from the cream filling. Place all the cream filling in a small bowl and the chocolate cookies into a zip-top plastic bag.
- Prepare the Cookie Base: Remove excess air from the zip-top bag and seal it tightly. Use a rolling pin to crush the Oreo cookies into fine crumbs. Transfer the crumbs to a mixing bowl, then gradually add 2-3 tablespoons of milk, stirring continuously until you achieve a thick, dough-like paste that holds together well but is not too wet.
- Assemble the Roll: Lay a large piece of plastic wrap flat on a clean surface. Spread the Oreo cookie paste evenly over the plastic wrap into a rectangle approximately 8×6 inches in size. Next, evenly spread the reserved Oreo cream filling over the cookie paste layer, ensuring a uniform thickness.
- Roll and Slice: Using the plastic wrap to aid you, carefully roll the layered mixture into a tight log, similar to rolling sushi. Press firmly but gently to ensure it sticks together. Once rolled, use a sharp knife to slice the log into bite-sized pieces resembling sushi rolls.
- Serve: Arrange the Oreo sushi pieces neatly on a plate. For an extra touch, serve with optional dipping sauces such as chocolate syrup, whipped cream, or frosting to enhance the flavor and visual appeal.
Notes
- Use chilled Oreos for easier handling and cleaner separation of cookies and filling.
- Adjust the amount of milk as needed to avoid the mixture being too wet or too dry.
- For cleaner slices, chill the roll in the refrigerator for 15 minutes before slicing.
- You can customize dipping sauces to taste, including caramel, strawberry sauce, or cream cheese frosting.
- This dessert is best served fresh but can be stored in an airtight container in the refrigerator for up to 2 days.
Nutrition
- Serving Size: 1 piece (approximate)
- Calories: 120
- Sugar: 14g
- Sodium: 95mg
- Fat: 6g
- Saturated Fat: 3g
- Unsaturated Fat: 2g
- Trans Fat: 0g
- Carbohydrates: 18g
- Fiber: 1g
- Protein: 1g
- Cholesterol: 5mg
Keywords: Oreo sushi, Oreo dessert, no-bake dessert, creative dessert, Oreo recipe, easy dessert, sushi-inspired dessert