No-Bake Pink Velvet Cheesecake Bites Recipe
Introduction
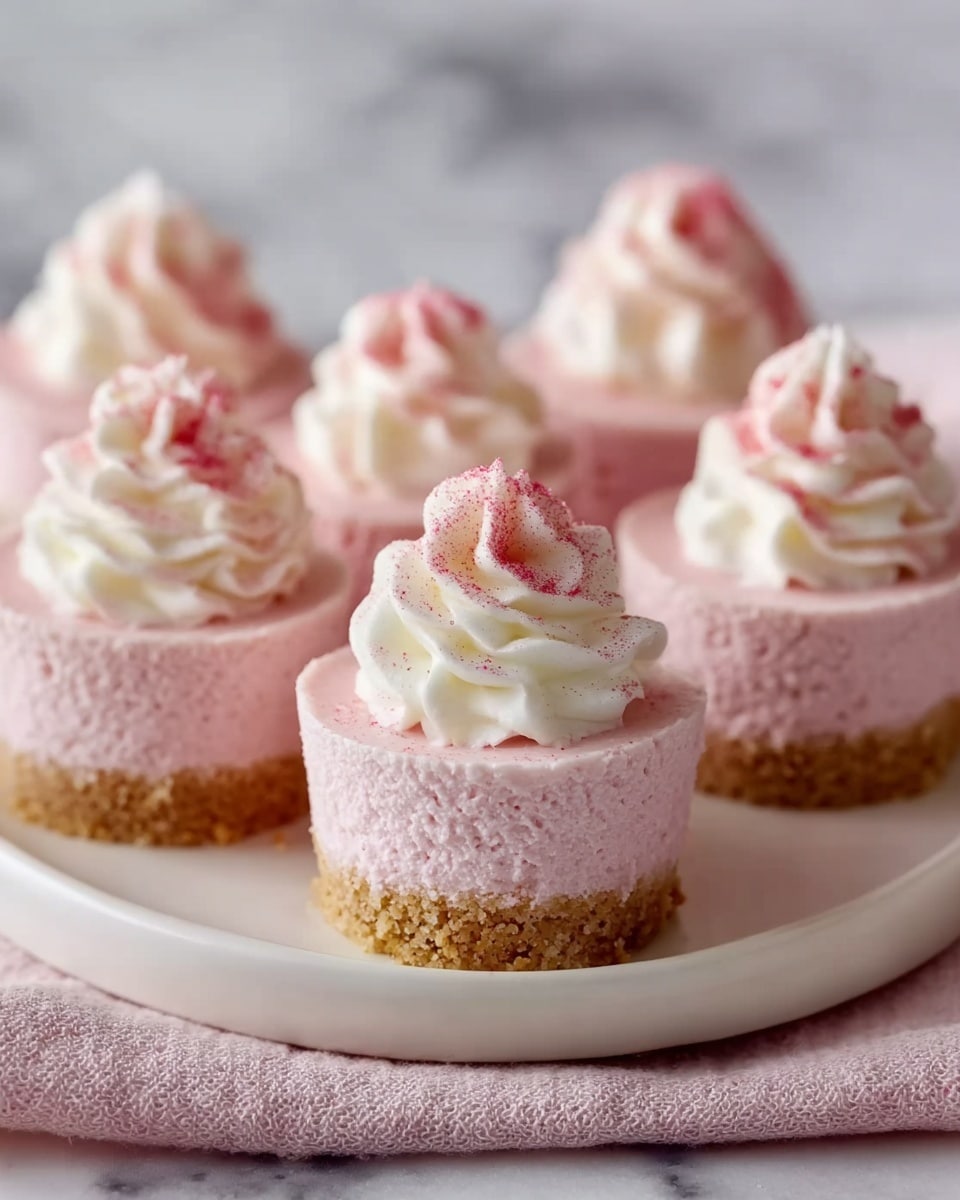
These No-Bake Pink Velvet Cheesecake Bites are a delightful and creamy treat that require no oven time. With a vibrant pink filling and a crisp graham cracker crust, they’re perfect for parties or a sweet snack anytime.
Ingredients
- 1 cup graham cracker crumbs
- 1/4 cup granulated sugar
- 1/2 cup unsalted butter, melted
- 16 oz cream cheese, softened
- 1 cup powdered sugar
- 1/2 cup heavy cream
- 1 tsp vanilla extract
- 1 tbsp pink food coloring
- 1/2 cup whipped cream
- Sprinkles (optional)
Instructions
- Step 1: In a medium bowl, combine the graham cracker crumbs, granulated sugar, and melted butter. Mix until well combined.
- Step 2: Press the mixture firmly into the bottom of a 9-inch square baking dish to form the crust.
- Step 3: In a large mixing bowl, beat the softened cream cheese until smooth and creamy.
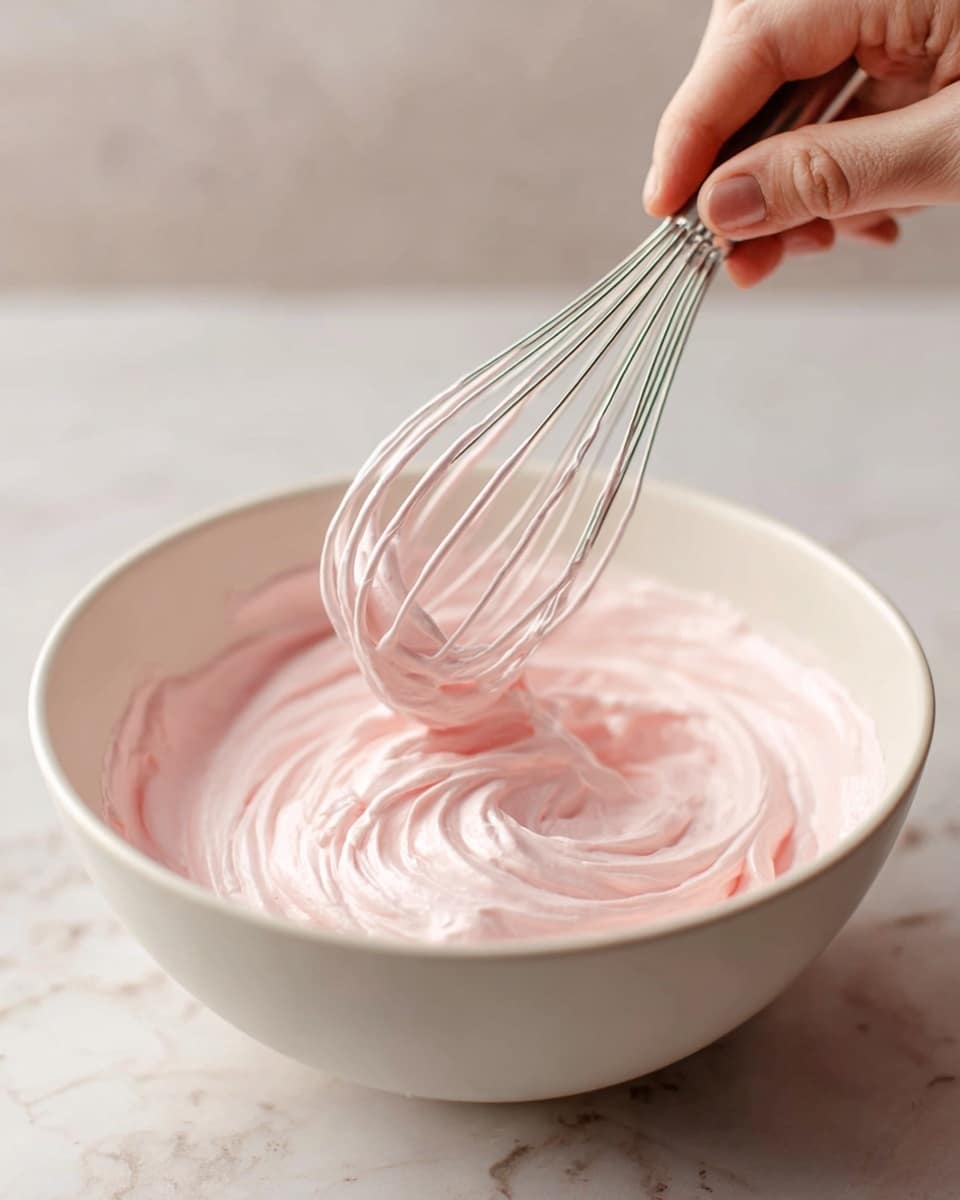
- Step 4: Add the powdered sugar, heavy cream, vanilla extract, and pink food coloring to the cream cheese. Beat until fully combined and fluffy.
- Step 5: Spread the cheesecake filling evenly over the crust.
- Step 6: Refrigerate for at least 4 hours or until set.
- Step 7: Once set, top with whipped cream and sprinkle with optional sprinkles before cutting into bite-sized squares.
Tips & Variations
- For a dairy-free version, substitute the cream cheese and heavy cream with plant-based alternatives.
- Try using different food coloring shades to create a variety of colorful cheesecake bites.
- If you prefer a more textured crust, add chopped nuts or shredded coconut to the graham cracker mixture.
- Use fresh berries instead of sprinkles for a natural topping and extra flavor.
Storage
Store the cheesecake bites in an airtight container in the refrigerator for up to 4 days. For best texture, let them sit at room temperature for 10 minutes before serving. These bites do not freeze well due to the creamy filling.
How to Serve
Serve this delicious recipe with your favorite sides.
FAQs
Can I use a different type of crust?
Yes, you can substitute the graham cracker crust with crushed digestive biscuits or Oreo crumbs for a different flavor and texture.
How long do these cheesecake bites need to chill?
They should be refrigerated for at least 4 hours to allow the filling to set properly. Overnight chilling works well if you want to prepare them ahead of time.
PrintNo-Bake Pink Velvet Cheesecake Bites Recipe

These No-Bake Pink Velvet Cheesecake Bites are a delightful, creamy dessert that’s easy to prepare without the need for an oven. Combining a buttery graham cracker crust with a fluffy pink cream cheese filling, they’re perfect for parties or a sweet treat any time. Topped with whipped cream and optional sprinkles, these cheesecake bites offer a visually stunning and deliciously rich flavor with minimal effort.
- Prep Time: 15 minutes
- Cook Time: 0 minutes
- Total Time: 4 hours 15 minutes
- Yield: 16 bite-sized squares 1x
- Category: Dessert
- Method: No-Cook
- Cuisine: American
- Diet: Vegetarian
Ingredients
Crust
- 1 cup graham cracker crumbs
- 1/4 cup granulated sugar
- 1/2 cup unsalted butter, melted
Filling
- 16 oz cream cheese, softened
- 1 cup powdered sugar
- 1/2 cup heavy cream
- 1 tsp vanilla extract
- 1 tbsp pink food coloring
Topping
- 1/2 cup whipped cream
- Sprinkles (optional)
Instructions
- Prepare the crust: In a medium bowl, combine graham cracker crumbs, granulated sugar, and melted butter. Mix thoroughly until the mixture is well combined and evenly moist.
- Form the crust base: Press the crust mixture firmly and evenly into the bottom of a 9-inch square baking dish, creating a compact base layer for the cheesecake bites.
- Make the filling: In a large mixing bowl, beat the softened cream cheese on medium speed until it’s smooth and creamy, removing any lumps.
- Add sweeteners and color: To the cream cheese, add powdered sugar, heavy cream, vanilla extract, and pink food coloring. Beat the mixture until fully incorporated, light, and fluffy.
- Assemble the cheesecake layer: Spread the cheesecake filling evenly over the prepared graham cracker crust in the baking dish, smoothing the surface.
- Chill to set: Refrigerate the assembled cheesecake for at least 4 hours, or until the filling is firm and set.
- Add toppings and serve: Once the cheesecake is set, top with whipped cream and sprinkle with optional sprinkles. Cut into bite-sized squares and serve chilled.
Notes
- Ensure the cream cheese is softened to room temperature for a smooth filling without lumps.
- Use high-quality pink food coloring for vibrant color without altering the flavor.
- Refrigerate for at least 4 hours or overnight for best results and firmer bites.
- Optional sprinkles add a festive touch but can be omitted for a simple presentation.
- Store leftovers covered in the refrigerator for up to 3 days.
Keywords: Pink Velvet Cheesecake, No-Bake Cheesecake Bites, Easy Cheesecake Recipe, Cream Cheese Dessert, Summer Dessert