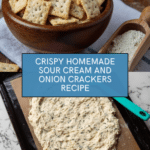
Homemade Sour Cream and Onion Crackers Recipe
Introduction
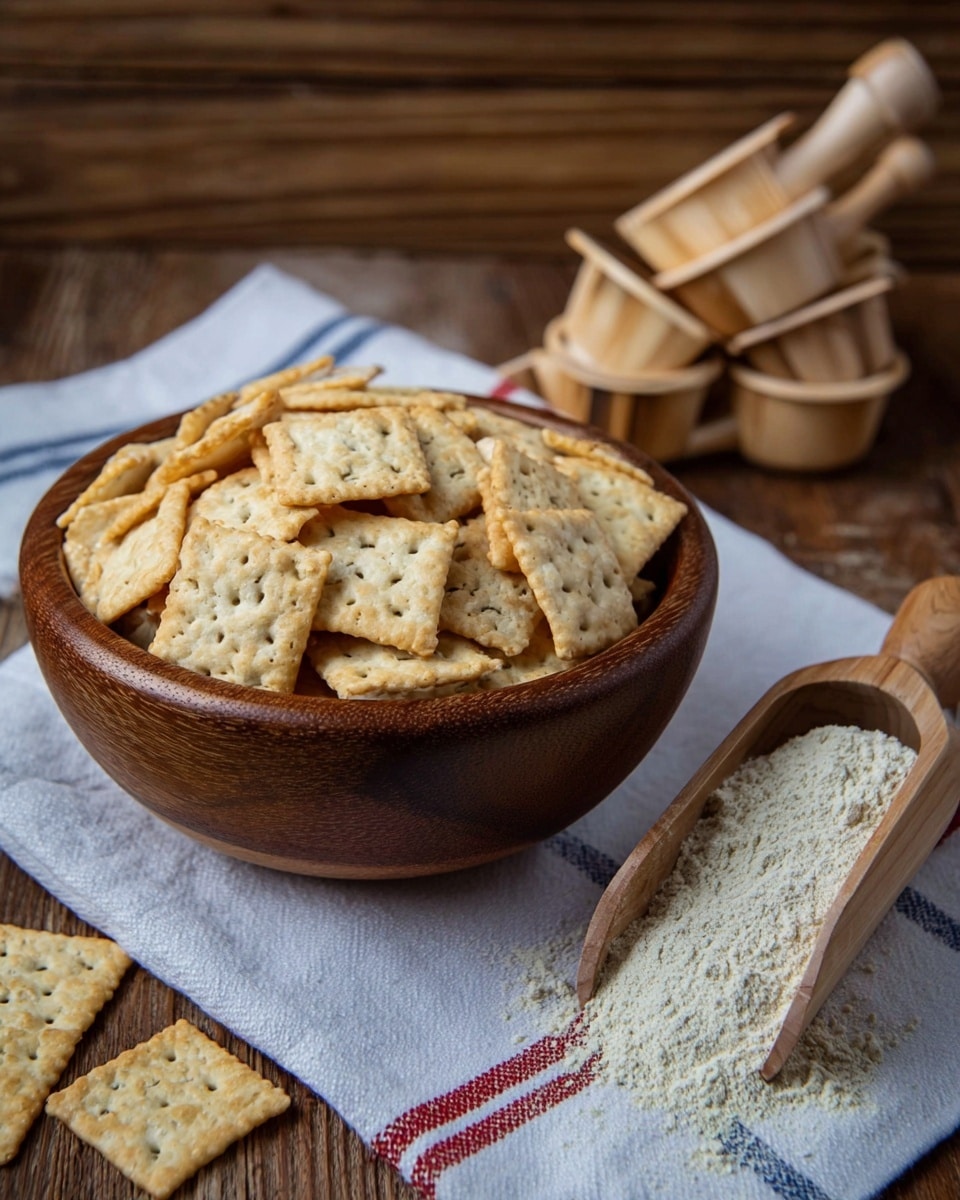
These homemade sour cream and onion crackers are irresistibly flavorful and perfectly crisp. With simple ingredients and an easy process, you can enjoy a savory snack made from scratch anytime.
Ingredients
- ½ cup unsalted butter, softened
- 2 cups all-purpose flour
- 1 ½ cups sour cream
- ½ teaspoon garlic powder
- 3 tablespoons dried chives
- 1 teaspoon salt
Instructions
- Step 1: Preheat your oven to 350°F (175°C).
- Step 2: In a large bowl, mix together the softened butter, all-purpose flour, sour cream, garlic powder, dried chives, and salt until a smooth, creamy dough forms.
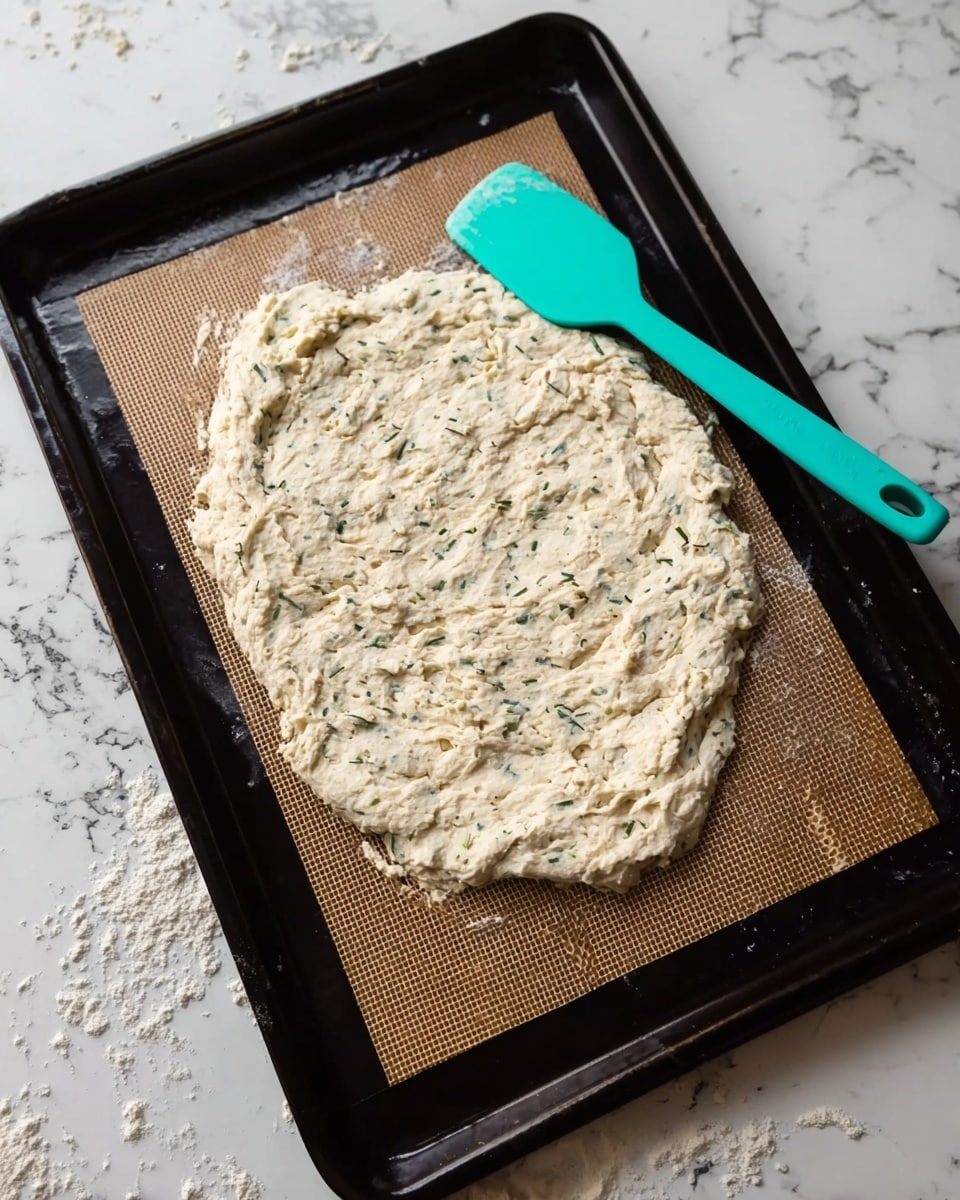
- Step 3: Pour the dough onto a baking sheet.
- Step 4: Use a spatula to spread the dough evenly into a very thin layer, just thick enough so you cannot see through to the bottom of the baking sheet.
- Step 5: Bake in the preheated oven for 20 minutes, or until the dough turns a light golden brown.
- Step 6: Remove the baking sheet from the oven and score the dough into cracker-sized squares using a plastic pizza cutter or a similar tool. Avoid using anything that could damage your baking sheet.
- Step 7: Carefully flip each scored piece over using a spatula, then return them to the oven for an additional 5 to 10 minutes to brown the other side.
- Step 8: Remove from the oven and allow the crackers to cool on the baking sheet. They will become crispier as they cool.
- Step 9: Serve immediately, or store in an airtight container once fully cooled.
Tips & Variations
- For an extra punch of onion flavor, sprinkle a little onion powder on top of the crackers before baking.
- Try swapping dried chives for finely chopped fresh chives if available, adding them just before baking.
- To make smaller, bite-size crackers, score the dough into smaller squares before flipping and finishing the bake.
- If you prefer a dairy-free version, substitute sour cream and butter with plant-based alternatives.
Storage
Store cooled crackers in an airtight container at room temperature for up to one week. To maintain crispness, avoid moisture exposure. If they soften, re-crisp by baking at 300°F (150°C) for a few minutes. These crackers do not require refrigeration.
How to Serve
Serve this delicious recipe with your favorite sides.
FAQs
Can I use salted butter instead of unsalted?
Yes, you can use salted butter but reduce the added salt in the recipe to avoid over-seasoning.
How thin should I spread the dough?
The dough should be spread very thinly—just enough so you cannot see through the dough to the baking sheet. This ensures the crackers become crisp rather than soft.
PrintHomemade Sour Cream and Onion Crackers Recipe
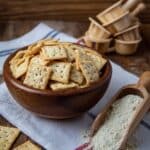
These Homemade Sour Cream and Onion Crackers are a deliciously crispy snack infused with savory garlic and dried chives. Made from a simple dough of butter, flour, and sour cream, these crackers offer a perfect balance of tangy and herbaceous flavors. Baked to a golden crisp, they make an ideal accompaniment to dips or a tasty standalone treat.
- Prep Time: 10 minutes
- Cook Time: 30 minutes
- Total Time: 40 minutes
- Yield: Approximately 40 crackers 1x
- Category: Snack
- Method: Baking
- Cuisine: American
- Diet: Vegetarian
Ingredients
Ingredients
- ½ cup unsalted butter, softened
- 2 cups all-purpose flour
- 1 ½ cups sour cream
- ½ teaspoon garlic powder
- 3 tablespoons dried chives
- 1 teaspoon salt
Instructions
- Preheat the oven: Set your oven to 350°F (175°C) to prepare for baking the crackers.
- Mix ingredients: In a large bowl, combine the softened unsalted butter, all-purpose flour, sour cream, garlic powder, dried chives, and salt. Mix thoroughly until you achieve a smooth, creamy dough consistency.
- Prepare the baking sheet: Pour the dough onto a baking sheet. Use a spatula to spread it evenly into a very thin layer. The layer should be thin enough so that you cannot see through to the bottom of the baking sheet.
- Bake the dough: Place the baking sheet in the preheated oven and bake for 20 minutes, or until the dough turns a light golden brown.
- Score the crackers: Remove the baking sheet from the oven and use a plastic pizza cutter or a similar tool to gently score the dough into squares. Be careful not to damage the baking sheet.
- Flip and bake again: Using a spatula, carefully flip each cracker-sized piece over. Return the baking sheet to the oven and bake for an additional 5 to 10 minutes to brown the other side evenly.
- Cool and serve: Take the crackers out of the oven and allow them to cool completely on the baking sheet. The crackers will become crispier as they cool. Once cooled, serve immediately or store in an airtight container for later enjoyment.
Notes
- Ensure the dough is spread very thinly for optimal crispness.
- Use a plastic pizza cutter to avoid scratching your baking sheet.
- Allow crackers to cool fully to maximize their crunch.
- Store crackers in an airtight container to maintain freshness.
- Feel free to adjust dried chives to your taste for stronger or milder onion flavor.
Keywords: sour cream and onion crackers, homemade crackers, savory snack, baked crackers, garlic chive crackers