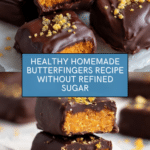
Healthy Homemade Butterfingers Recipe
Introduction
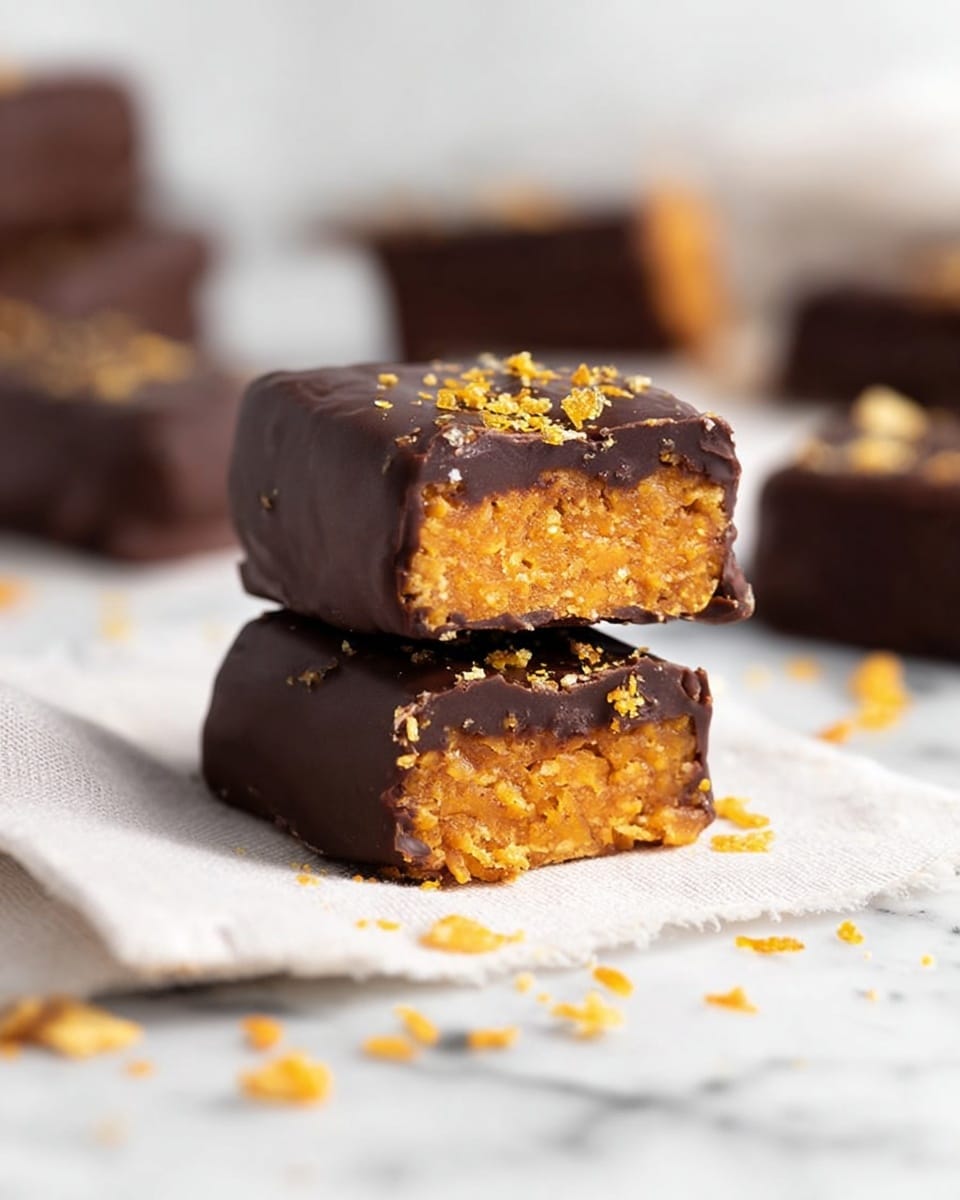
Craving a crunchy, sweet treat without the guilt? These Healthy Homemade Butterfingers offer a delightful blend of peanut butter, honey, and cornflakes coated in rich chocolate. They’re simple to make and perfect for snacking anytime.

Ingredients
- 1 cup peanut butter
- 1/3 cup honey
- 1/2 tsp vanilla extract
- 1/2 tsp sea salt
- 1 + 3/4 cup cornflake cereal
- 1 cup chocolate chips (dairy free, if needed)
- 1 tsp coconut oil
Instructions
- Step 1: In a saucepan over medium-low heat, warm the peanut butter, honey, vanilla extract, and sea salt for 2 to 4 minutes until the mixture is smooth and heated through.
- Step 2: Transfer the peanut butter mixture to a large mixing bowl with the cornflake cereal. Stir gently until the cereal is well coated, crushing it slightly as you mix to help with even coating.
- Step 3: Shape the mixture into 12 to 14 small logs. Place them on a parchment-lined plate or baking sheet and freeze for 1 hour to set.
- Step 4: After freezing, melt the chocolate chips and coconut oil together in the microwave or on the stove, being careful not to burn the chocolate.
- Step 5: Dip each frozen log into the melted chocolate, letting the excess drip off. Place the dipped logs back on the parchment-lined surface and freeze until the chocolate hardens, about 10 minutes.
Tips & Variations
- For extra crunch, add chopped roasted peanuts to the cereal mixture before forming logs.
- Use almond or cashew butter as a tasty alternative to peanut butter.
- Swap cornflakes for gluten-free cereal to make this recipe gluten-free.
- Store logs in an airtight container between layers of parchment paper to prevent sticking.
Storage
Keep your Butterfingers stored in the refrigerator for up to two weeks or in the freezer for up to one month. When ready to enjoy, let them sit at room temperature for a few minutes to soften slightly before eating.
How to Serve
Serve this delicious recipe with your favorite sides.
FAQs
Can I use a different sweetener instead of honey?
Yes, maple syrup or agave nectar work well as natural alternatives to honey and will keep the bars moist and sweet.
How do I prevent the chocolate from melting too quickly?
Store the Butterfingers in the fridge or freezer and keep them chilled until serving. Also, dipping in a thin layer of chocolate helps it set faster and stay solid longer.
PrintHealthy Homemade Butterfingers Recipe
Enjoy a homemade, healthier take on classic Butterfingers with this easy recipe combining peanut butter, honey, and crispy cornflakes, coated in rich chocolate. Perfect for a guilt-free sweet snack.
- Prep Time: 15 minutes
- Cook Time: 10 minutes
- Total Time: 1 hour 25 minutes
- Yield: 12–14 Butterfinger logs 1x
- Category: Snack
- Method: Stovetop
- Cuisine: American
- Diet: Gluten Free
Ingredients
Main Ingredients
- 1 cup peanut butter
- 1/3 cup honey
- 1/2 tsp vanilla extract
- 1/2 tsp sea salt
- 1 + 3/4 cup cornflake cereal
Chocolate Coating
- 1 cup chocolate chips (dairy free, if needed)
- 1 tsp coconut oil
Instructions
- Heat Peanut Butter Mixture: In a saucepan over medium-low heat, combine the peanut butter, honey, vanilla extract, and sea salt. Stir continuously and heat for 2-4 minutes until the mixture is smooth and heated through.
- Mix with Cereal: Transfer the warm peanut butter mixture to a large mixing bowl containing the cornflake cereal. Stir thoroughly, crushing the cereal slightly as you mix to ensure every flake is coated well.
- Form Logs: Shape the cereal and peanut butter mixture into 12-14 log-shaped pieces. Place each log onto a parchment-lined plate or baking sheet. Freeze for 1 hour to set.
- Melt Chocolate Coating: Melt the chocolate chips together with the coconut oil gently in the microwave or on the stovetop, being careful not to burn the chocolate.
- Dip Logs in Chocolate: Remove the logs from the freezer and dip them into the melted chocolate, allowing any excess chocolate to drip off. Lay the coated logs back on the lined plate and return to the freezer until the chocolate is set, about 10 minutes.
- Storage: Store the finished Butterfingers in the refrigerator or freezer to keep them firm and fresh until serving.
Notes
- Use dairy-free chocolate chips if you want a vegan-friendly version.
- Adjust the amount of honey to control sweetness.
- For a crunchier texture, do not crush the cornflakes too much.
- Store the Butterfingers well-wrapped to prevent them from absorbing fridge or freezer odors.
Keywords: homemade Butterfingers, healthy Butterfingers, peanut butter candy, gluten free snack, no bake dessert